


| There are many ways to install windows in your log home, the method below has been in practice for more than 20 years by our company. The chance of air or water infiltration between the wall and window frame is almost non-existant. | |||||||||
| Your doors and windows are a very important energy aspect of your home. Using high quality low emissions windows will increase the energy efficency of your home and make it easier to heat and cool. This page will help you understand how to properly set and install your windows. | | ||||||||
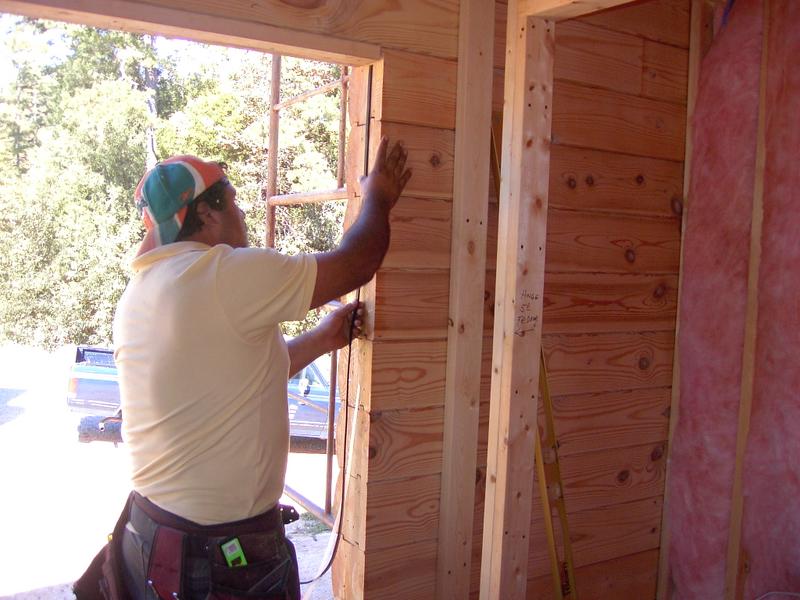
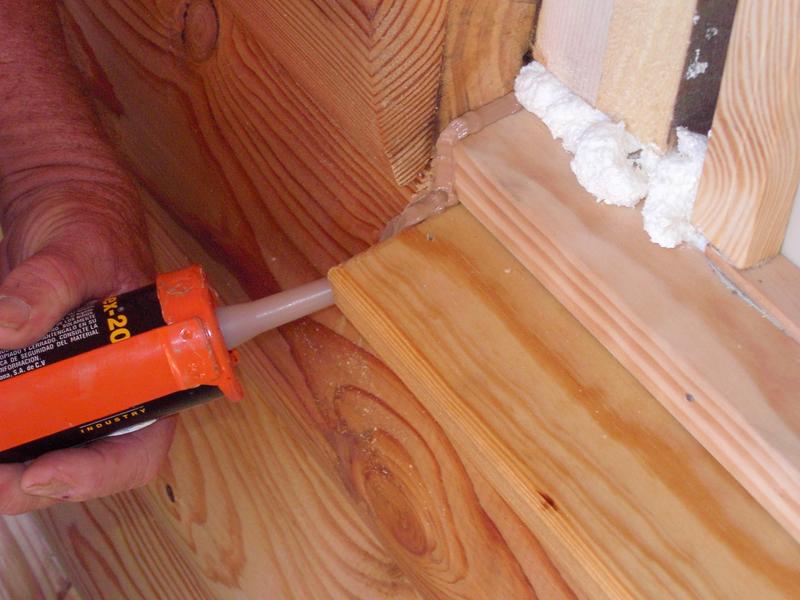
| Pictured to the left is a worker installing our 3/8" expanding foam seal. This will ensure that there is an airtight seal between the logs and the window buck. After exterior window trim is installed apply a bead of sika-flex caulk where the butt end of the log meets the window facing. | ||||||||
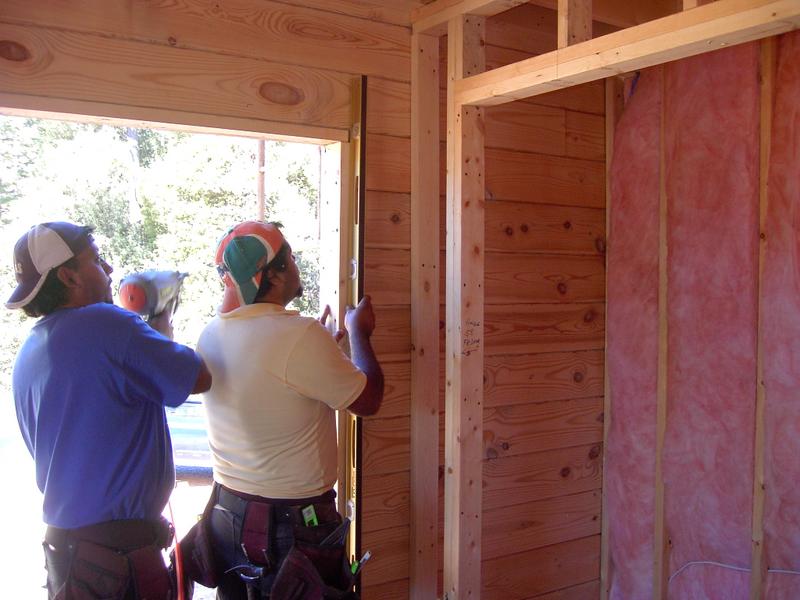
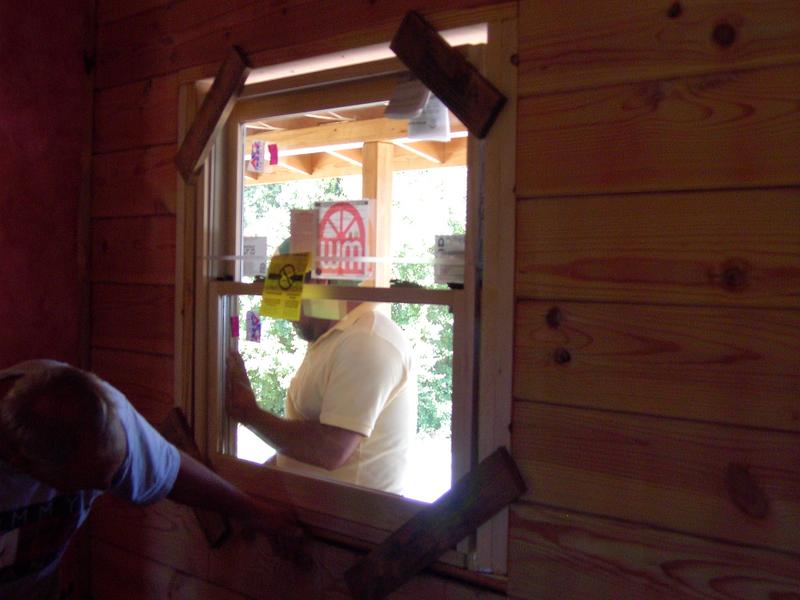
| Here you can see a worker using the level to align the window buck with the log wall. Although the wall should already be plumb, by using a level the installer can be sure that the window is installed properly in line with the wall. | | ||||||||
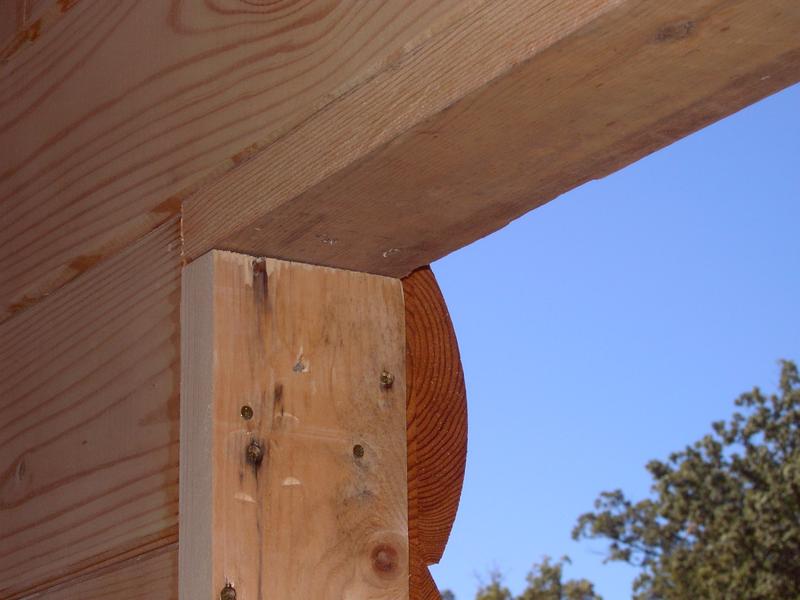
| The top and side bucks should be ripped to the same size as the window jamb. Notice when using laminted logs there is no need to leave any space above the window buck for shrinkage and settling. | ||||||||
| Sika-Flex adhesive is applied librerally to the log where the window sub-sill will rest. This will create an airtight and watertight seal between the logs and window sub-sill. | | ||||||||
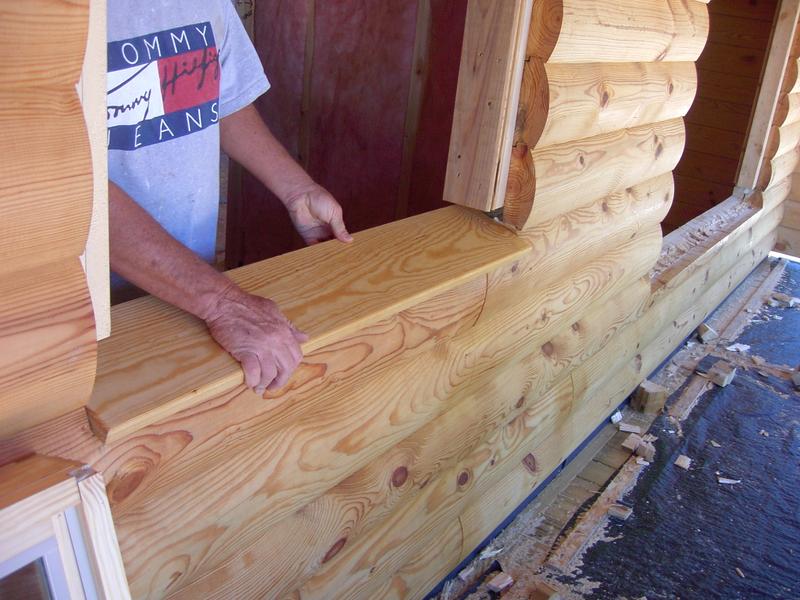
| The window sub-sill is installed at a 15 degree angle (or as required for your particular window). The sill should be secured with small finishing nails to keep it from moving. The window will rest on top of the sub-sill, and the sub-sill should then be adjusted to meet the bottom of the window. | ||||||||
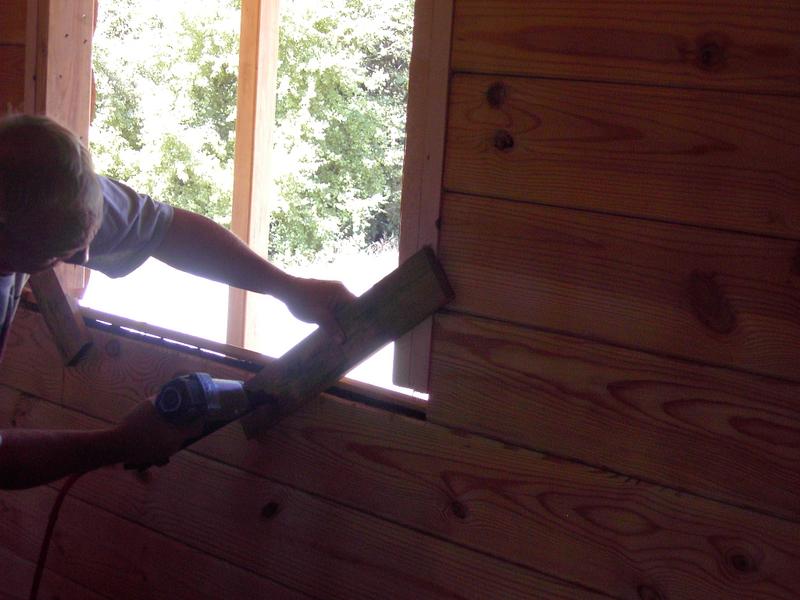
| This temporary peice will be used to hold the window in place until the expanding foam has set. These boards help hold the window aligned with the house and in the proper position, a strip should be used on each of the four corners of the window to ensure proper alignment. Larger windows may require more temporary strips. | | ||||||||
| Once the temporary strips are secured to the log wall the window should be placed on top of the sub-sill. A helper should hold enough pressure on the window to ensure that the window is against the temporary strips. Once the window is in position secure the window to the strips using finishing nails. | ||||||||
| Wedges should be used on the inside to to hold the sub-sill in line with the window sill. | | ||||||||
| Placing foam under the window sub sill will fill all voids, ensure 100% airtight, and also hold the window and sill in place. | ||||||||
| Applying foam along the edge of the window will hold the window in perfect alignment as well as create an airtight seal around the window. | | ||||||||
| Sika-Flex should be applied to the sub sill, where the wood meets the log wall. This should occur prior to the window trim being installed, to prevent air or moisture infiltration. | ||||||||
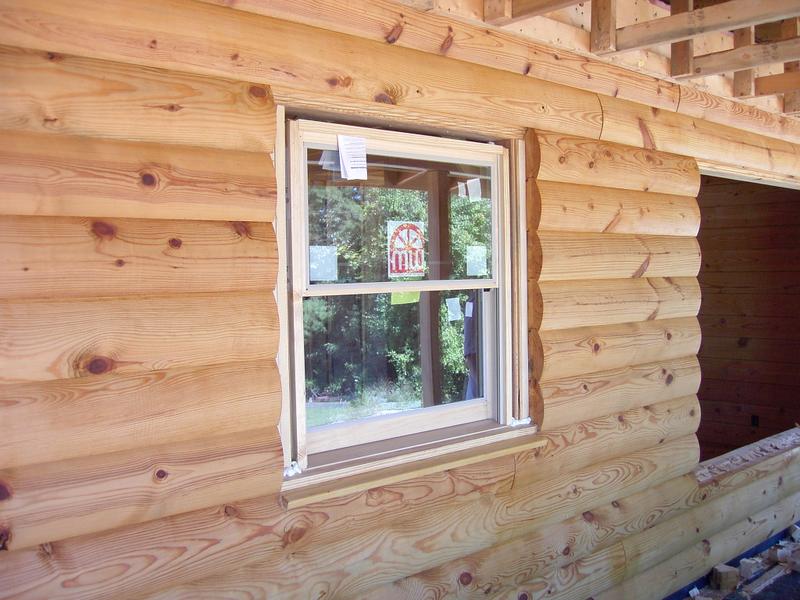
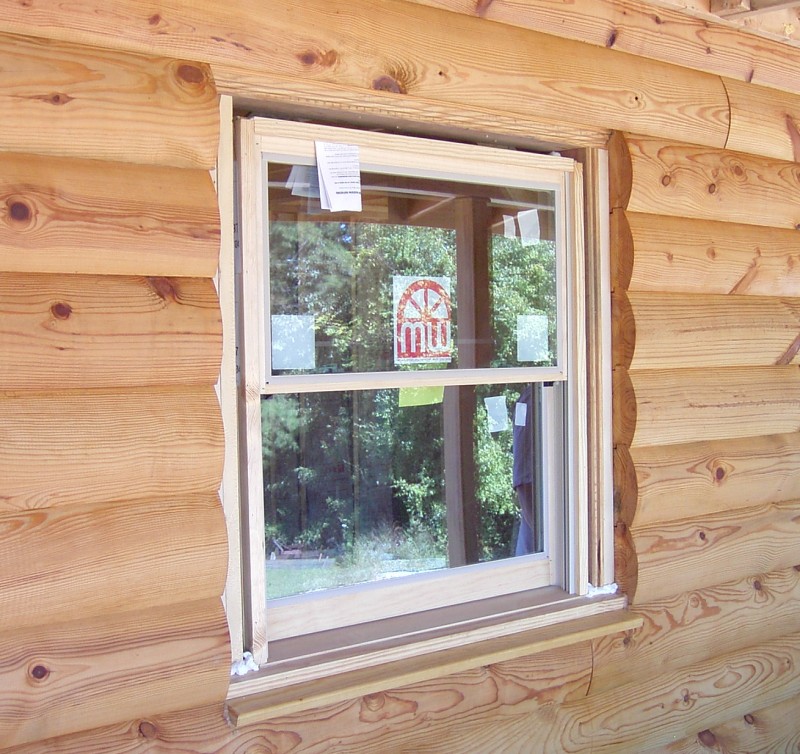
| Notice the sub-sill below the actual window sill, its purpose is to spill water from the window sill, onto the sub-sill and away from the log wall. In our next segment on window trimout, you will see how this window is self protecting in the way that the trim is installed. | | ||||||||
| Foam selection is very important in this application, use only a foam with minimal expansion properties, a foam that expands too much could hinder proper operation of the window due to excessive pressure around the window. Pictured on this page is a commercial applicator that can be used to dispense as little or as much foam as required and offers a much greater range of control over canned products. If the foam expands too much after it has cured a recipicating sawblade (held in your hand) works extremely well to carve away excess foam. After the window has been secured by foam, the interior and exterior trim can be installed around the window. | |||||||||
| Back to house raisings | |||||||||
| Please Click On a photo for a enlarged view. | |||||||||